Container
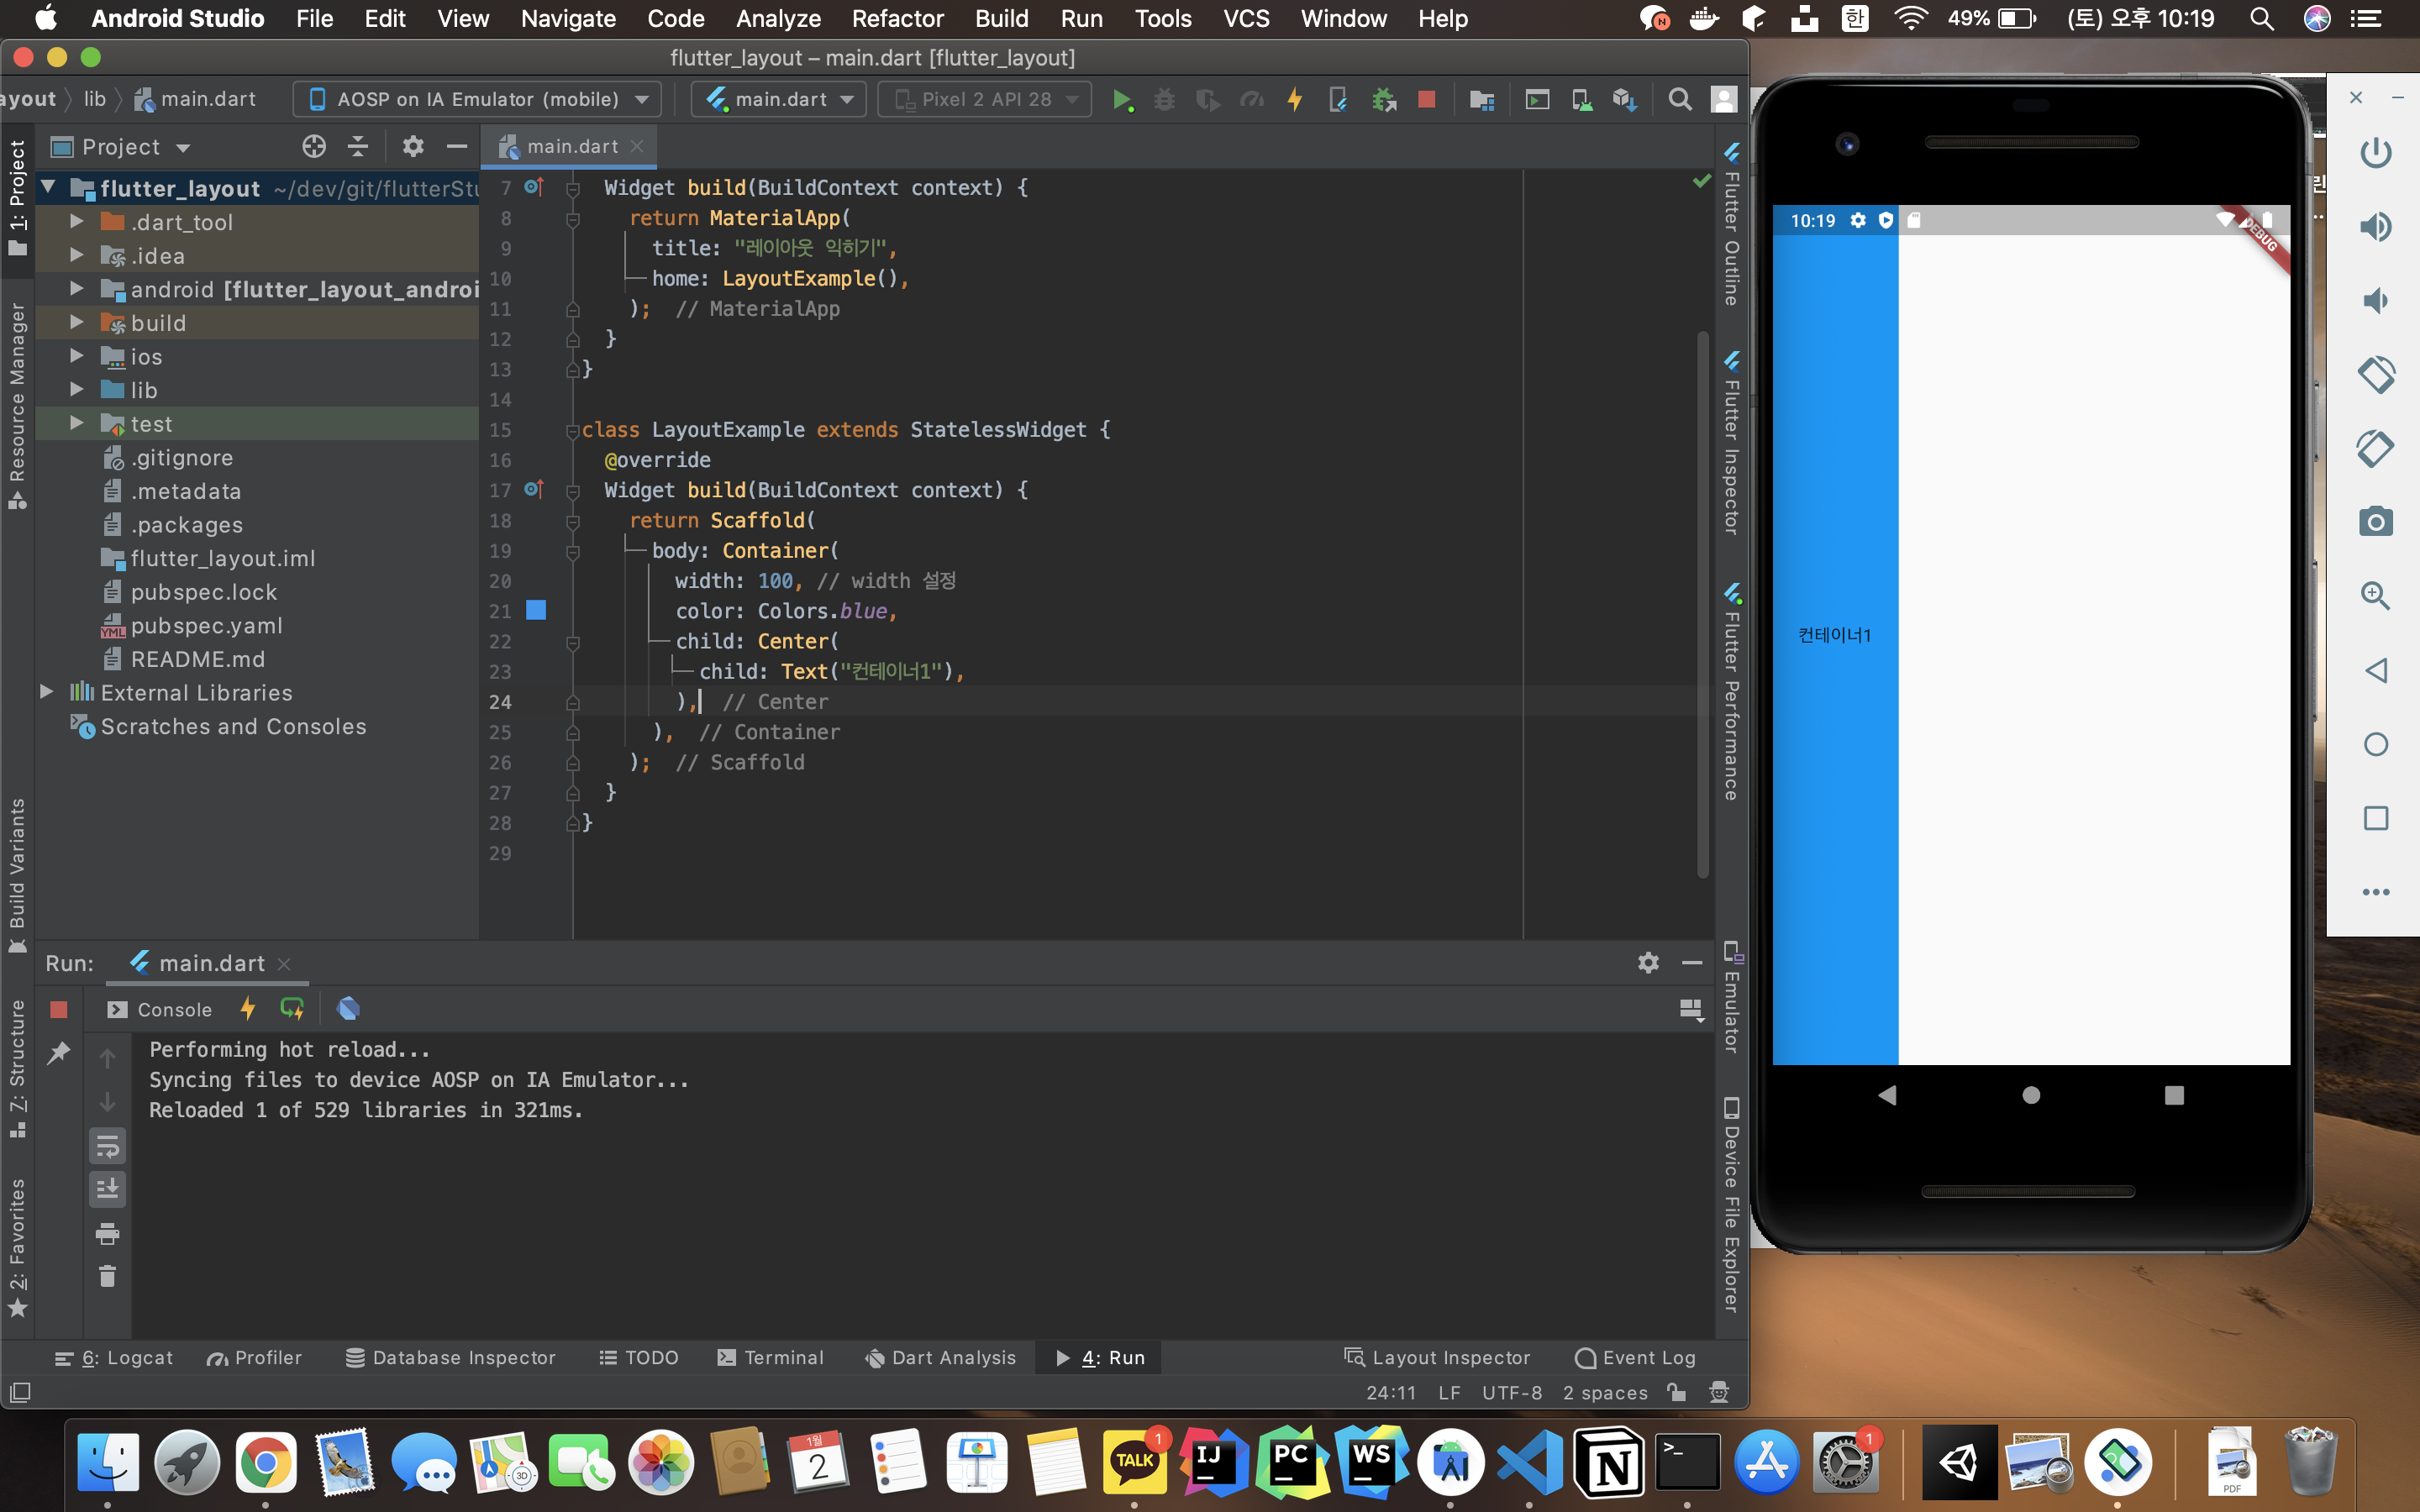
컨테이너는 width와 height 속성이 있어서 크기를 조절할 수 있다.
import "package:flutter/material.dart";

void main() => runApp(MyApp());

class MyApp extends StatelessWidget {
  @override
  Widget build(BuildContext context) {
    return MaterialApp(
      title: "레이아웃 익히기",
      home: LayoutExample(),
    );
  }
}

class LayoutExample extends StatelessWidget {
  @override
  Widget build(BuildContext context) {
    return Scaffold(
      body: Container(
        color: Colors.blue,
        child: Center(
          child: Text("컨테이너1"),
        ),
      ),
    );
  }
}

Container에 width와 height를 설정하지 않으면, 위와 같이 화면 최대 크기까지 확장된다.
width와 height를 주면 아래와 같이 된다.
class LayoutExample extends StatelessWidget {
  @override
  Widget build(BuildContext context) {
    return Scaffold(
      body: Container(
        width: 100, // width 설정
        color: Colors.blue,
        child: Center(
          child: Text("컨테이너1"),
        ),
      ),
    );
  }
}

class LayoutExample extends StatelessWidget {
  @override
  Widget build(BuildContext context) {
    return Scaffold(
      body: Container(
        width: 100, // width 설정
        height: 100, // height 설정
        color: Colors.blue,
        child: Center(
          child: Text("컨테이너1"),
        ),
      ),
    );
  }
}
Container와 SizedBox에는 차이가 있는데, 그 차이는 아래 글에서 살펴본다.
2021/01/02 - [Flutter] - 플러터(flutter) - Container와 SizedBox의 차이
플러터(flutter) - Container와 SizedBox의 차이
Container와 SizedBox 위젯은 둘다 width와 height를 가진다. 그래서 너비와 높이를 설정 할 수 있다. 하지만 차이점이 존재한다. Container Container의 위젯은 width와 height를 넣지 않으면, 최대 크기로 확장..
memostack.tistory.com
Column
세로 방향으로 정렬하고 싶을 때 사용한다.
웹 개발을 했었다면, css의 flex-direction 과 연관하면 이해하기 쉽다
import "package:flutter/material.dart";

void main() => runApp(MyApp());

class MyApp extends StatelessWidget {
  @override
  Widget build(BuildContext context) {
    return MaterialApp(
      title: "레이아웃 익히기",
      home: LayoutExample(),
    );
  }
}

class LayoutExample extends StatelessWidget {
  @override
  Widget build(BuildContext context) {
    return Scaffold(
        body: Column(
      children: [
        Container(
          width: 100,
          height: 100,
          color: Colors.blue,
          child: Center(
            child: Text("컨테이너1"),
          ),
        ),
      ],
    ));
  }
}
Column에는 children 속성이 있어서 리스트를 인자로 넣어줘야 한다.
- 즉, 여러개의 위젯(
widget)을 넣을 수 있다.
class LayoutExample extends StatelessWidget {
  @override
  Widget build(BuildContext context) {
    return Scaffold(
        body: Column(
      children: [
        Container(
          width: 100,
          height: 100,
          color: Colors.blue,
          child: Center(
            child: Text("컨테이너1"),
          ),
        ),
        Container(
          width: 100,
          height: 100,
          color: Colors.green,
          child: Center(
            child: Text("컨테이너2"),
          ),
        ),
        Container(
          width: 100,
          height: 100,
          color: Colors.orange,
          child: Center(
            child: Text("컨테이너3"),
          ),
        ),
      ],
    ));
  }
}

위와 같이 위젯들을 세로로 정렬해준다.
Row
가로 방향으로 정렬하고 싶을 때 사용한다.
- Column 위젯과 반대로 생각하면 됨
Row 위젯도 Column위젯과 마찬가지로 children 인자명으로 리스트를 받는다.
그래서 여러개의 위젯을 넣을 수 있다.
import "package:flutter/material.dart";

void main() => runApp(MyApp());

class MyApp extends StatelessWidget {
  @override
  Widget build(BuildContext context) {
    return MaterialApp(
      title: "레이아웃 익히기",
      home: LayoutExample(),
    );
  }
}

class LayoutExample extends StatelessWidget {
  @override
  Widget build(BuildContext context) {
    return Scaffold(
        body: Row( // Row 위젯 설정
      children: [
        Container(
          width: 100,
          height: 100,
          color: Colors.blue,
          child: Center(
            child: Text("컨테이너1"),
          ),
        ),
        Container(
          width: 100,
          height: 100,
          color: Colors.green,
          child: Center(
            child: Text("컨테이너2"),
          ),
        ),
        Container(
          width: 100,
          height: 100,
          color: Colors.orange,
          child: Center(
            child: Text("컨테이너3"),
          ),
        ),
      ],
    ));
  }
}

'Mobile > Flutter' 카테고리의 다른 글
| 플러터(flutter) - Row 가로 정렬 방법 (MainAxisAlignment) (0) | 2021.01.03 |
|---|---|
| 플러터(flutter) - Column 가로 정렬 방법 (CrossAxisAlignment) (0) | 2021.01.03 |
| 플러터(flutter) - Column 세로 정렬 방법 (MainAxisAlignment) (0) | 2021.01.02 |
| 플러터(flutter) - Container와 SizedBox의 차이 (0) | 2021.01.02 |
| Flutter 설치 및 환경 구축 (MacOSX) (0) | 2020.12.23 |
