블로그를 이전하였습니다. 2023년 11월부터 https://bluemiv.github.io/에서 블로그를 운영하려고 합니다. 앞으로 해당 블로그의 댓글은 읽지 못할 수 도 있으니 양해바랍니다.
반응형
아이템 내용 수정 기능 개발
'연필' 모양의 버튼을 눌렀을때 해당 아이템의 내용이 <input /> 태그로 변하도록한다.
- 그리고, 입력을 받아 아이템의 내용을 변경할 수 있도록 한다.
- 연필 모양의 버튼은 submit 버튼으로 변하도록 한다.
버튼 클릭시 input 태그로 변하도록 하기
ToDoItem.jsx
수정 버튼을 눌렀을때, edit 모드가 토글 되도록 함
그리고 수정 버튼은 👌 버튼이 되도록 한다.
const ToDoItem = ({ todoItem, todoList, setTodoList }) => {
  const [edited, setEdited] = useState(false); // 수정 모드인지 확인하기 위한 플래그 값
  ...

  const onClickEditButton = () => {
    // 클릭시 edited 값을 true로 바꿈
    setEdited(true);
  };

  return (
    <li className="todoapp__item">
      ...
      {
        // 수정 버튼
        // 완료한 일인 경우에는 null을 반환하여 보이지 않도록 함
        !todoItem.checked ? (
          edited ? (
            <button
              type="button"
              className="todoapp__item-edit-btn"
            >
              👌
            </button>
          ) : (
            <button
              type="button"
              className="todoapp__item-edit-btn"
              onClick={onClickEditButton}
            >
              ✏
            </button>
          )
        ) : null
      }
      ...
    </li>
  );
}
수정 기능 만들기
이번엔 input 태그에 새로운 아이템 내용을 입력하여 👌 버튼을 누르면 내용이 변하도록 해보자
const ToDoItem = ({ todoItem, todoList, setTodoList }) => {
  const [edited, setEdited] = useState(false);
  const [newText, setNewTest] = useState(todoItem.text); // 새로운 아이템 내용
  ...

  const onChangeEditInput = (e) => {
    setNewTest(e.target.value);
  };

  const onClickSubmitButton = () => {
    const nextTodoList = todoList.map((item) => ({
      ...item,
      text: item.id === todoItem.id ? newText : item.text, // 새로운 아이템 내용을 넣어줌
    }));
    setTodoList(nextTodoList); // 새로운 리스트를 넣어줌

    setEdited(false); // 수정모드를 다시 읽기모드로 변경
  };
  ...

  return (
    <li className="todoapp__item">
    ...
      {
        // 수정 버튼
        // 완료한 일인 경우에는 null을 반환하여 보이지 않도록 함
        !todoItem.checked ? (
          edited ? (
            <button
              type="button"
              className="todoapp__item-edit-btn"
              onClick={onClickSubmitButton} // 클릭 이벤트 발생시 onClickSubmitButton 수행
            >
              👌
            </button>
          ) : (
            <button
              type="button"
              className="todoapp__item-edit-btn"
              onClick={onClickEditButton}
            >
              ✏
            </button>
          )
        ) : null
      }

    </li>
  );
};
포커싱
수정버튼을 누르면 input 태그에 focusing이 되도록 하자
const ToDoItem = ({ todoItem, todoList, setTodoList }) => {
  ...
  const editInputRef = useRef(null);

  useEffect(() => {
    // edit 모드일때 포커싱을 한다.
    if (edited) {
      editInputRef.current.focus();
    }
  }, [edited]);

  ...
  return (
    <li className="todoapp__item">
      ....
      {
        // 아이템 내용
        edited ? (
          <input
            type="text"
            value={newText}
            ref={editInputRef} // ref 로 DOM에 접근
            onChange={onChangeEditInput}
          />
        ) : (
          <span
            className={`todoapp__item-ctx ${
              todoItem.checked ? 'todoapp__item-ctx-checked' : ''
            }`}
          >
            {todoItem.text}
          </span>
        )
      }
      ...
    </li>
  );
};
스타일
그리고 edit input 태그에 스타일을 입혀보자
...
.todoapp__item-edit-input {
  flex: 1;
  border: none;
  border-bottom: 1px solid #f1f3f5;
  padding: 5px;
  font-size: 1em;
  box-sizing: border-box;
}
.todoapp__item-edit-input:focus {
  outline: none;
}
...
전체코드
import React, { useEffect, useRef, useState } from 'react';
import PropTypes from 'prop-types';

const ToDoItem = ({ todoItem, todoList, setTodoList }) => {
  const [edited, setEdited] = useState(false);
  const [newText, setNewTest] = useState(todoItem.text);

  const editInputRef = useRef(null);

  useEffect(() => {
    // edit 모드일때 포커싱을 한다.
    if (edited) {
      editInputRef.current.focus();
    }
  }, [edited]);

  const onChangeCheckbox = () => {
    const nextTodoList = todoList.map((item) => ({
      ...item,
      // id 값이 같은 항목의 checked 값을 Toggle 함
      checked: item.id === todoItem.id ? !item.checked : item.checked,
    }));

    setTodoList(nextTodoList);
  };

  const onClickEditButton = () => {
    setEdited(true);
  };

  const onChangeEditInput = (e) => {
    setNewTest(e.target.value);
  };

  const onClickSubmitButton = () => {
    const nextTodoList = todoList.map((item) => ({
      ...item,
      text: item.id === todoItem.id ? newText : item.text, // 새로운 아이템 내용을 넣어줌
    }));
    setTodoList(nextTodoList);

    setEdited(false);
  };

  return (
    <li className="todoapp__item">
      {/* 아이템 완료 체크 / 체크 해제를 위한 체크박스 */}
      <input
        type="checkbox"
        className="todoapp__item-checkbox"
        checked={todoItem.checked}
        onChange={onChangeCheckbox}
      />
      {
        // 아이템 내용
        edited ? (
          <input
            type="text"
            className="todoapp__item-edit-input"
            value={newText}
            ref={editInputRef}
            onChange={onChangeEditInput}
          />
        ) : (
          <span
            className={`todoapp__item-ctx ${
              todoItem.checked ? 'todoapp__item-ctx-checked' : ''
            }`}
          >
            {todoItem.text}
          </span>
        )
      }
      {
        // 수정 버튼
        // 완료한 일인 경우에는 null을 반환하여 보이지 않도록 함
        !todoItem.checked ? (
          edited ? (
            <button
              type="button"
              className="todoapp__item-edit-btn"
              onClick={onClickSubmitButton}
            >
              👌
            </button>
          ) : (
            <button
              type="button"
              className="todoapp__item-edit-btn"
              onClick={onClickEditButton}
            >
              ✏
            </button>
          )
        ) : null
      }

      {/* 삭제 버튼 */}
      <button type="button" className="todoapp__item-delete-btn">
        🗑
      </button>
    </li>
  );
};

ToDoItem.propTypes = {
  todoItem: PropTypes.shape({
    id: PropTypes.number,
    text: PropTypes.string.isRequired,
  }),
  todoList: PropTypes.arrayOf(
    PropTypes.shape({
      id: PropTypes.number.isRequired,
      text: PropTypes.string.isRequired,
    })
  ),
  setTodoList: PropTypes.func.isRequired,
};

export default ToDoItem;
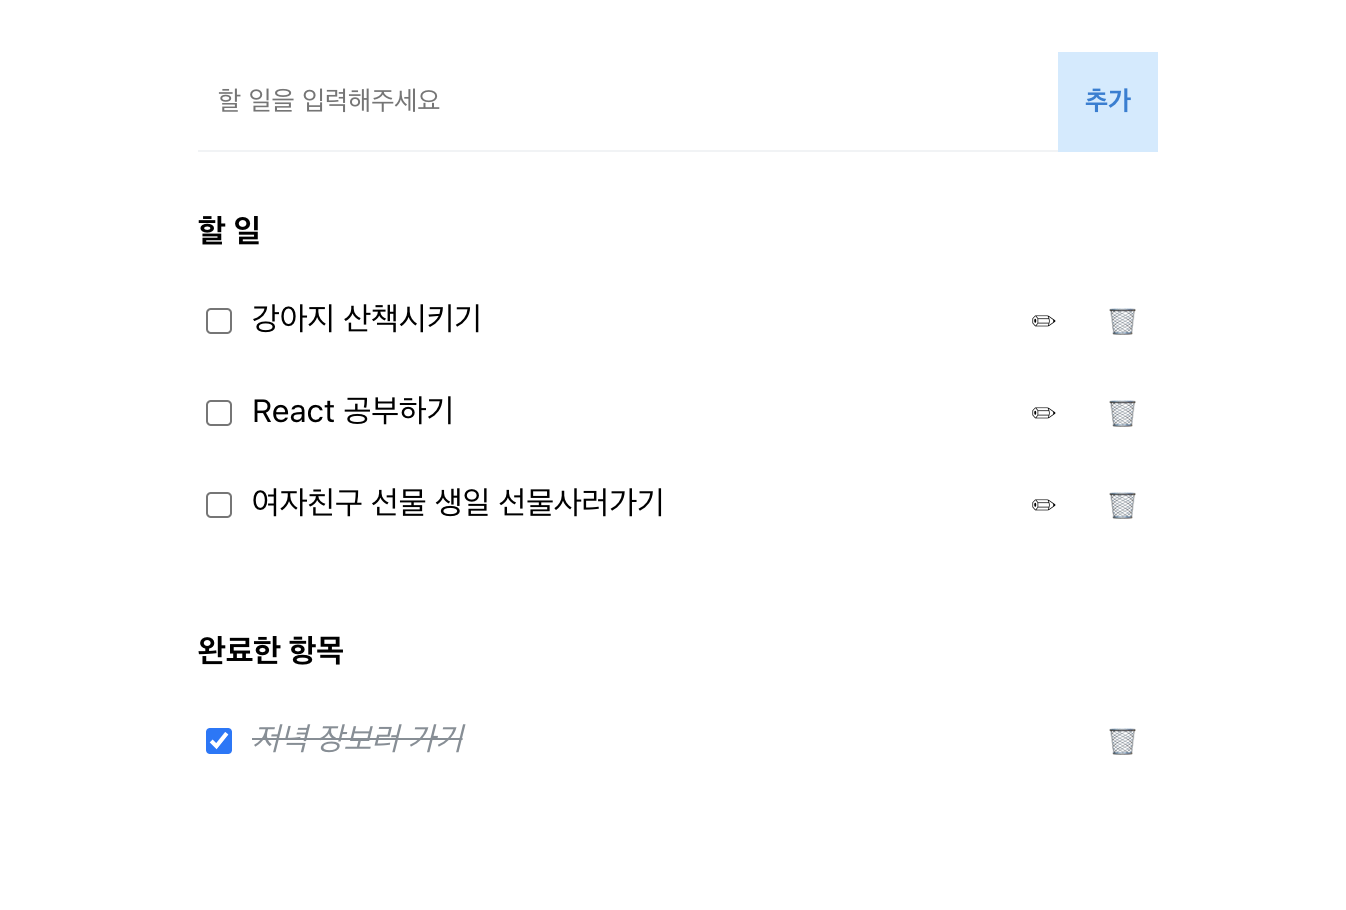
결과 화면


전체 코드는 아래 링크에서 확인 할 수 있습니다.
https://github.com/bluemiv/react_todo_app
GitHub - bluemiv/react_todo_app: React로 만든 ToDo Web Application
React로 만든 ToDo Web Application. Contribute to bluemiv/react_todo_app development by creating an account on GitHub.
github.com
반응형
'Frontend > React' 카테고리의 다른 글
| React 프로젝트 github page에 호스팅하기 (0) | 2021.07.26 |
|---|---|
| React로 간단한 ToDo List 만들기 (#8 삭제 기능 개발) (0) | 2021.07.17 |
| React로 간단한 ToDo List 만들기 (#6 완료 목록 조회 기능 개발) (0) | 2021.07.14 |
| React로 간단한 ToDo List 만들기 (#5 할 일 목록 조회 기능 개발) (0) | 2021.07.13 |
| React로 간단한 ToDo List 만들기 (#4 Item 추가 기능 개발) (0) | 2021.07.13 |
