React 프로젝트 생성
create-react-app을 이용하여 React 프로젝트를 생성한다.
프로젝트 생성
참고 create-react-app 설치
$ yarn global add create-react-app
설치된 create-react-app 모듈을 이용하여, 프로젝트 생성한다.
$ yarn create react-app myapp
gh-pages 설치
github에 호스팅을 하려면 gh-pages 모듈이 필요하다. 아래 명령어를 사용하여 모듈을 설치한다.
$ cd myapp
$ yarn --dev add gh-pages
package.json의 devDependencies에 추가되었는지 확인한다.
{
  ...
  "devDependencies": {
    "gh-pages": "^3.2.3"
  },
  ...
}
프로젝트 생성 확인
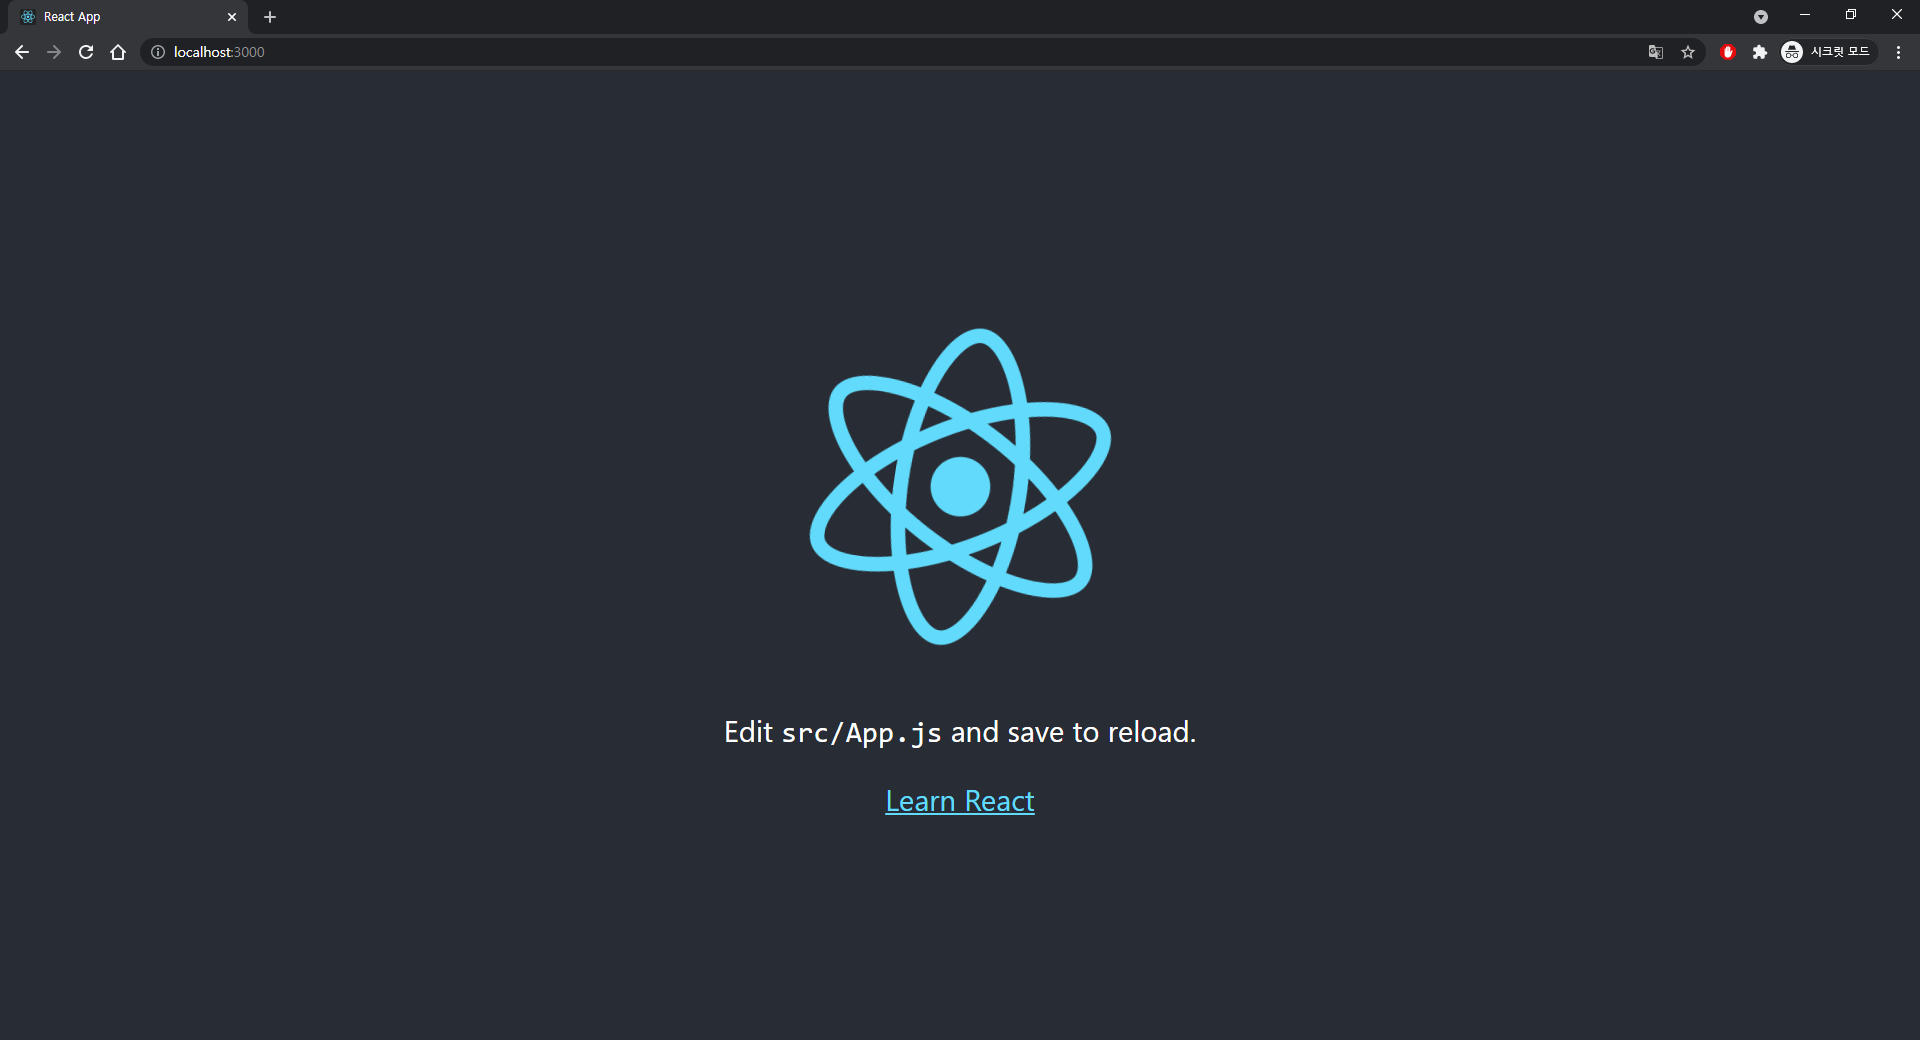
프로젝트가 실행이되는지 확인해본다.
$ yarn start
package.json에도 편집이 필요한데, 우선 git에 repository부터 생성해야한다.
Git repository 생성
본 글에서는 portfolio라는 이름으로 저장소를 생성했다.
- 저장소 생성하는 방법은 다 알고 있을거라 생각하고 넘어가도록 한다.
방금 생성한 프로젝트를 remote 저장소에 올린다.
$ git init
$ git add --all
$ git commit -m "initial commit"
$ git remote add origin <자신의 깃 주소>
$ git push origin master
React 프로젝트 호스팅
프로젝트 배포
이제 react 프로젝트의 packages.json을 수정해보자
{
  "homepage": "https://bluemiv.github.io/portfolio",
  ...
  "scripts": {
    ...
    "predeploy": "react-scripts build",
    "deploy": "gh-pages -d build",
    ...
  },
  ...
}- homepage에
https://<사용자이름>.github.io/<저장소이름>값을 넣는다. - scripts에
predeploy와deploy를 넣는다.- predeploy는 deploy전에 실행 됨
배포를 해보자
$ yarn deploy위 명령어를 수행하면, predeploy가 먼저 실행되어 프로젝트 빌드가 수행된다.
빌드가 완료되면 deploy가 실행되어 github page에 호스팅이 된다
전체 스크립트는 아래 펼쳐서 확인
{
  "homepage": "https://bluemiv.github.io/portfolio",
  "name": "portfolio",
  "version": "0.1.0",
  "private": true,
  "scripts": {
    "start": "react-scripts start",
    "build": "react-scripts build",
    "predeploy": "react-scripts build",
    "deploy": "gh-pages -d build",
    "test": "react-scripts test",
    "eject": "react-scripts eject"
  },
  "dependencies": {
    "@testing-library/jest-dom": "^5.11.4",
    "@testing-library/react": "^11.1.0",
    "@testing-library/user-event": "^12.1.10",
    "react": "^17.0.2",
    "react-dom": "^17.0.2",
    "react-scripts": "4.0.3",
    "web-vitals": "^1.0.1"
  },
  "devDependencies": {
    "gh-pages": "^3.2.3"
  },
  "eslintConfig": {
    "extends": [
      "react-app",
      "react-app/jest"
    ]
  },
  "browserslist": {
    "production": [
      ">0.2%",
      "not dead",
      "not op_mini all"
    ],
    "development": [
      "last 1 chrome version",
      "last 1 firefox version",
      "last 1 safari version"
    ]
  }
}
GitHub Pages 생성
git 저장소의 settings로 가서 'Check it out here!'을 클릭한다.

아래와 같이 gh-pages 브랜치로 설정하면, 호스팅이 완료된다.

해당 주소로 접속해보면, https://bluemiv.github.io/portfolio/
아래 사진과 같이 방금 만든 React 프로젝트가 호스팅되어, 브라우저 화면에 나타나는것을 확인 할 수 있다.

'Frontend > React' 카테고리의 다른 글
| babel, webpack 으로 react 프로젝트 생성하기 (0) | 2022.01.06 |
|---|---|
| Gatsby와 React를 이용하여 Github page 호스팅하기 (0) | 2021.08.03 |
| React로 간단한 ToDo List 만들기 (#8 삭제 기능 개발) (0) | 2021.07.17 |
| React로 간단한 ToDo List 만들기 (#7 수정 기능 개발) (0) | 2021.07.16 |
| React로 간단한 ToDo List 만들기 (#6 완료 목록 조회 기능 개발) (0) | 2021.07.14 |
