목표
- babel과 webpack을 이용하여 컴파일 및 번들링을 한다
- 컴파일 및 번들링이 완료된 컴포넌트를 npm에 배포한다
React 프로젝트 생성
본 글에서는 npm 대신 yarn을 이용한다
package.json 생성
yarn init 명령어를 사용하여, package.json을 생성한다.
$ yarn init
yarn init v1.22.17
question name (simple-component): simple-component
question version (1.0.0): 0.1.0
question description: simple component for deploy test
question entry point (index.js): src/index.js
question repository url (https://github.com/bluemiv/simple-component.git):
question author (taehongkim <public.bluemiv@gmail.com>):
question license (MIT):
question private: false
success Saved package.json
✨  Done in 53.84s.
완성된 package.json
{
  "name": "simple-component",
  "version": "0.1.0",
  "description": "simple component for deploy test",
  "main": "src/index.js",
  "repository": "https://github.com/bluemiv/simple-component.git",
  "author": "taehongkim <public.bluemiv@gmail.com>",
  "license": "MIT",
  "private": false,
}
React 의존성 설치
React를 사용하기 위해 관련 의존성을 설치한다.
$ yarn add react react-dom
설치 후 package.json을 보면 dependencies에 방금 의존성을 설치한 react와 react-dom이 추가된다.
{
  ...중략...
  "dependencies": {
    "react": "^17.0.2",
    "react-dom": "^17.0.2"
  }
}
babel 의존성 설치 및 설정
es5로 컴파일을 위해 babel 의존성을 추가한다.
$ yarn add --dev @babel/core @babel/cli @babel/preset-env @babel/preset-react @babel/plugin-proposal-class-properties참고@babel/core: 바벨을 사용하기 위한 코어 라이브러리@babel/cli: babel을 cli로 실행하기 위해 필요한 라이브러리@babel/preset-env: es6+으로 작성된 코드를 es5로 변환하기 위해 필요한 기본적인 라이브러리@babel/preset-react: JSX를 es5로 변환하기 위해 필요한 라이브러리@babel/plugin-proposal-class-properties: classProperties를 변환하기 위해 필요한 라이브러리
설치 후 package.json을 보면, devDependencies에 babel과 관련된 의존성 lib이 추가된다.
{
  ...중략...
  "devDependencies": {
    "@babel/cli": "^7.16.7",
    "@babel/core": "^7.16.7",
    "@babel/plugin-proposal-class-properties": "^7.16.7",
    "@babel/preset-env": "^7.16.7",
    "@babel/preset-react": "^7.16.7"
  }
}
.babelrc 파일을 생성하여, babel 설정을 한다.
{
  "presets": ["@babel/preset-env", "@babel/preset-react"],
  "plugins": ["@babel/plugin-proposal-class-properties"]
}
webpack 의존성 설치 및 설정
번들링을 위해 webpack을 의존성 lib을 설치한다.
$ yarn add --dev webpack webpack-cli webpack-dev-server
설치 후 package.json을 보면, devDependencies에 webpack과 관련된 의존성 lib이 추가된다.
{
  ...중략...
  "devDependencies": {
    "@babel/cli": "^7.16.7",
    "@babel/core": "^7.16.7",
    "@babel/plugin-proposal-class-properties": "^7.16.7",
    "@babel/preset-env": "^7.16.7",
    "@babel/preset-react": "^7.16.7",
+    "webpack": "^5.65.0",
+    "webpack-cli": "^4.9.1",
+    "webpack-dev-server": "^4.7.2"
  }
}참고webpack: webpack을 사용하기 위한 코어 라이브러리webpack-cli: webpack을 CLI로 사용하기 위해 필요한 라이브러리webpack-dev-server: 메모리 상에서 webpack으로 빌드하여 개발 서버를 구동 (메모리상에서 빌드하여 빠르게, 실시간으로 리로드가 가능)
기본적인 webpack 의존성이 설치가 완료되면 각종 loader 들도 같이 설치해줘야 한다.
- css, css전처리기(sass, less 등), 각종 리소스 파일, babel 등의 loader가 필요
- 본 글에서는 css 전처리기는 사용하지 않으므로, 아래 의존성 라이브러리만 설치한다
$ yarn add --dev babel-loader css-loader style-loader file-loader
번들링을 할 때, 이전 번들링 산출물을 지우고 번들링해주는 플러그인 설치
$ yarn add --dev clean-webpack-plugin html-webpack-plugin
설치 완료 후 package.json
{
  ...중략...
  "devDependencies": {
    "@babel/cli": "^7.16.7",
    "@babel/core": "^7.16.7",
    "@babel/plugin-proposal-class-properties": "^7.16.7",
    "@babel/preset-env": "^7.16.7",
    "@babel/preset-react": "^7.16.7",
+    "babel-loader": "^8.2.3",
+    "clean-webpack-plugin": "^4.0.0",
+    "css-loader": "^6.5.1",
+    "file-loader": "^6.2.0",
+    "html-webpack-plugin": "^5.5.0",
+    "style-loader": "^3.3.1",
    "webpack": "^5.65.0",
    "webpack-cli": "^4.9.1",
    "webpack-dev-server": "^4.7.2"
  }
}
필요한 라이브러리 및 플러그인을 설치 했으니, webpack 설정을 한다. 프로젝트 루트 경로에 webpack.config.js 파일을 생성한다.
const path = require('path');

// plugins
const HtmlWebpackPlugin = require('html-webpack-plugin');
const {CleanWebpackPlugin} = require('clean-webpack-plugin');

module.exports = {
    entry: {
        main: path.resolve(__dirname, 'src/index.js') // 진입점
    },
    output: {
        // 번들링된 산출물의 경로와 번들링 파일 이름
        path: path.resolve(__dirname, './dist'),
        filename: 'index.bundle.js'
    },
    resolve: {
        alias: {
            components: path.resolve(__dirname, 'src'),
        },
        extensions: ['.js', '.jsx'],
    },
    module: {
        // loader 설정
        rules: [
            {
                test: /\.(js|jsx)$/,
                exclude: /(node_modules|bower_components)/,
                loader: 'babel-loader',
            },
            {
                test: /\.css$/,
                use: ['style-loader', 'css-loader'],
            },
            {
                test: /\.jfif$/,
                loader: 'file-loader',
                options: {
                    name: '[name].[ext]',
                }
            },
        ],
    },
    plugins: [
        new CleanWebpackPlugin(),
        new HtmlWebpackPlugin({
            template: './public/index.html', // 번들링된 js 소스가 index.html 템플릿에 들어가게 됨
        }),
    ],
    devServer: {
        // webpack-dev-server 설정
        host: 'localhost',
        port: 9000,
        hot: true, // 모듈이 수정되면 자동 리로링
        historyApiFallback: true,
    },
    devtool: 'eval-cheap-source-map', // 번들링된 소스와 원본 소스를 매핑해준다. 추적하기 쉬워서 디버깅이 원활해진다.
};
웹팩 설정 끝.
React 프로젝트 실행
템플릿 및 컴포넌트 생성
프로젝트 실행을 위해, index.html(템플릿)과 컴포넌트를 생성한다.
$ mkdir -p public src/components
$ touch public/index.html src/index.js src/components/SimpleComponent.jsx
index.html 내용 추가
$ vim public/index.html<!DOCTYPE html>
<html lang="en">
<head>
<meta charset="UTF-8" />
<meta name="viewport" content="width=device-width, initial-scale=1.0" />
<title>Simple Component</title>
</head>
<body>
<div id="root"></div>
</body>
</html>
index.js 내용 추가
$ vim src/index.jsimport React from 'react';
import ReactDOM from 'react-dom';
import SimpleComponent from './components/SimpleComponent';
ReactDOM.render(<SimpleComponent />, document.getElementById('root'));
SimpleComponent.jsx 생성
$ vim src/components/SimpleComponent.jsximport React from "react";
function SimpleComponent() {
return <div>Hello React!</div>;
}
export default SimpleComponent;
package.json 수정
간편하게 앱을 실행하기 위해 scripts를 추가한다.
{
  ...
  "scripts": {
    "dev": "webpack-dev-server --progress --mode development",
    "build": "webpack --progress --mode production"
  },
  ...
}
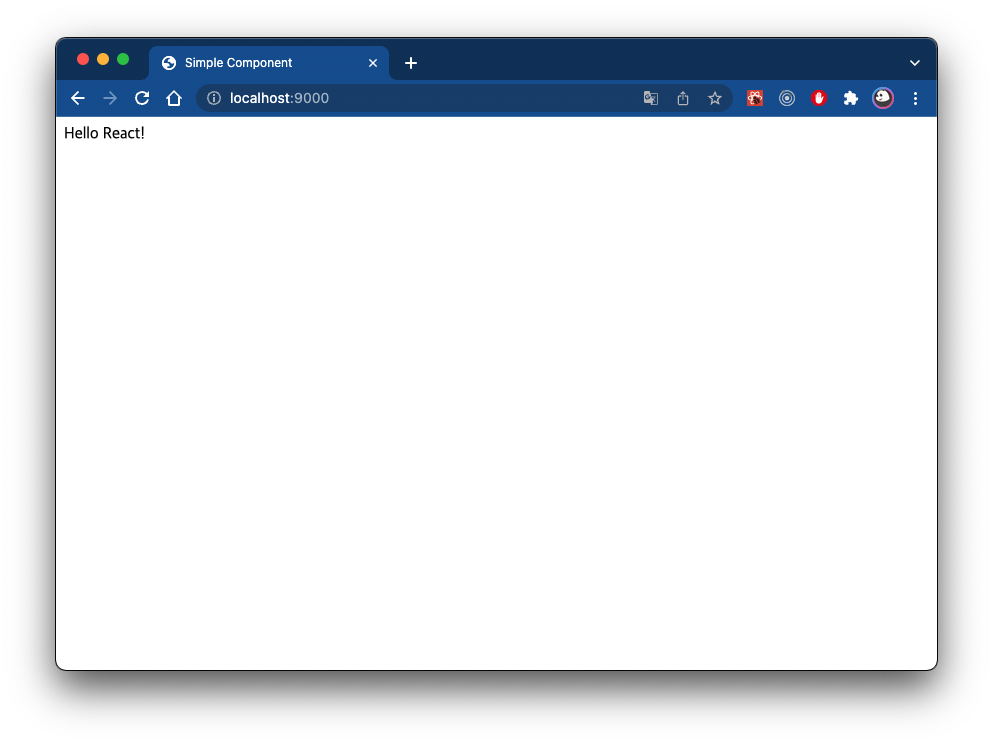
앱 실행을 해보자
$ yarn dev
앱 빌드를 해보자
$ yarn build
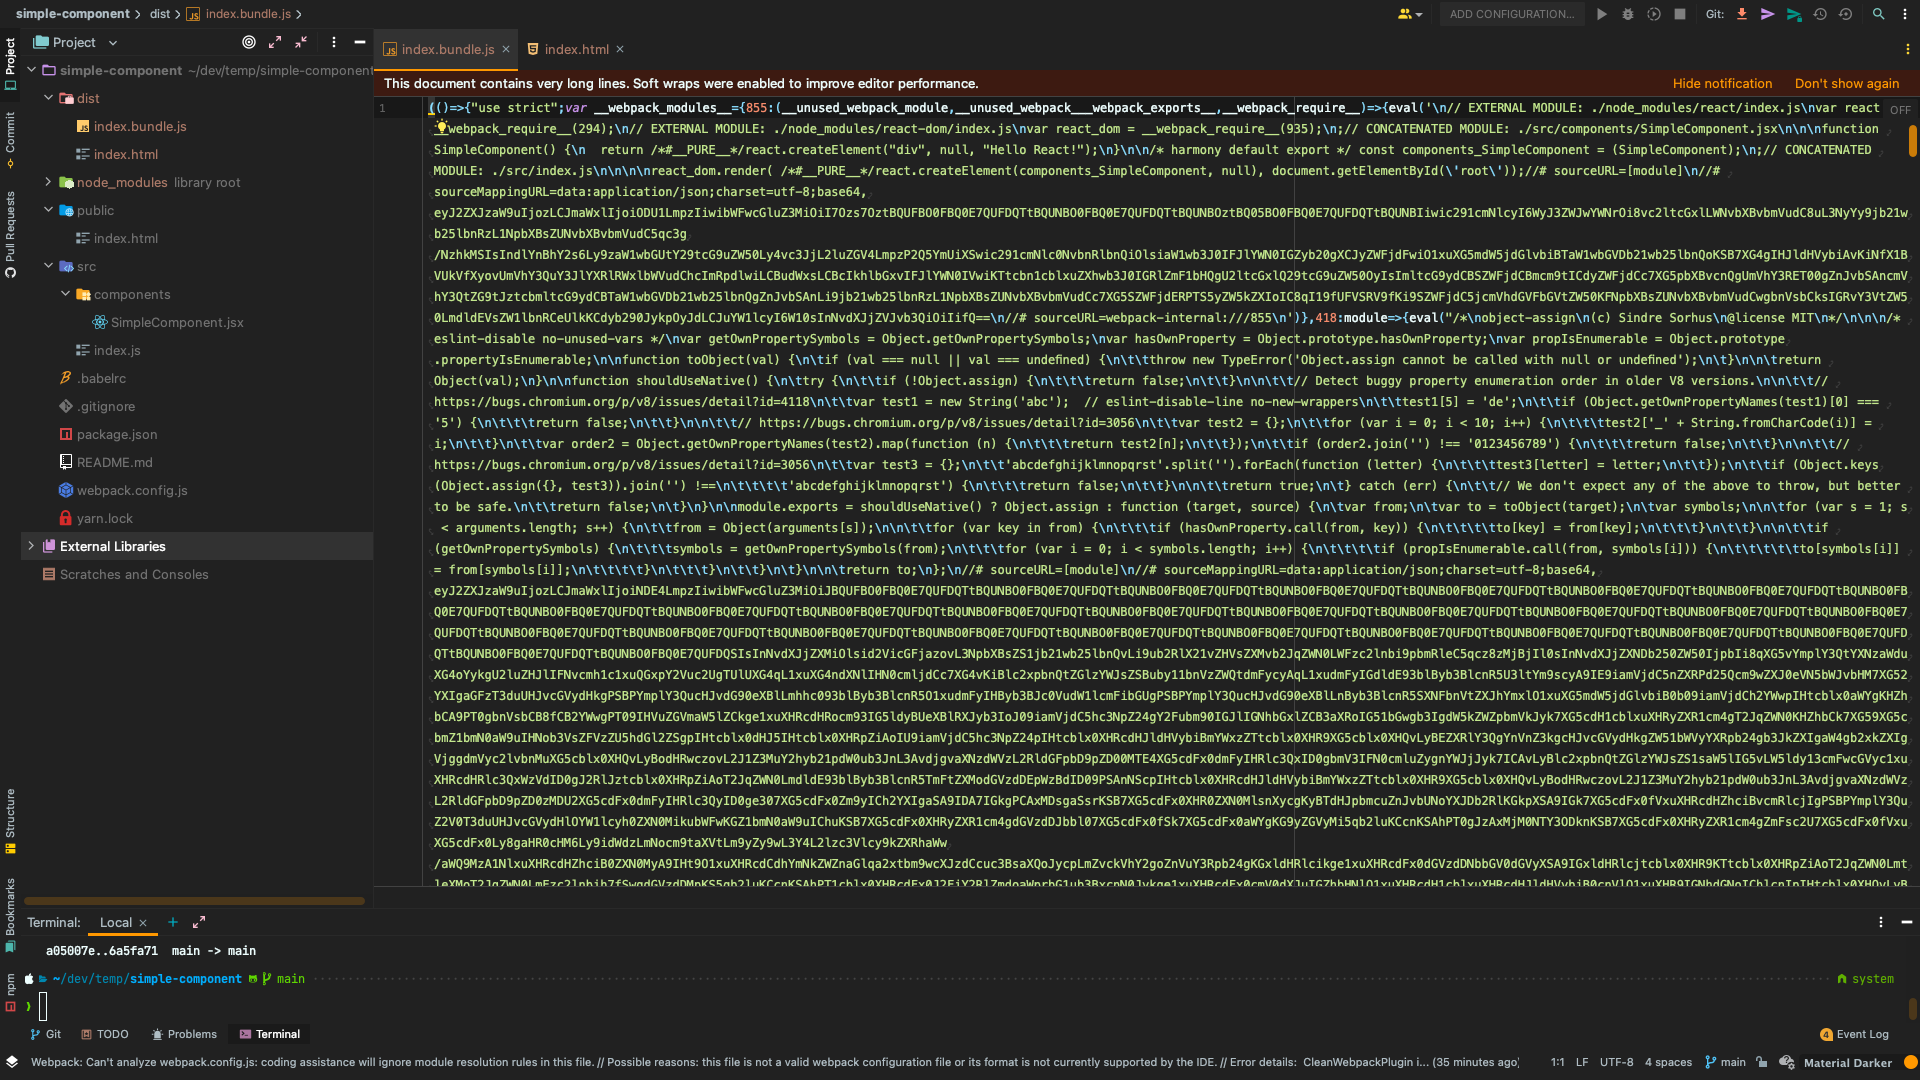
빌드가 완료되면, 프로젝트 상위에 dist 디렉토리가 생성된다. 그 하위에 번들링된 파일이 생성이 된다.

GitHub Repository
https://github.com/bluemiv/simple-component
GitHub - bluemiv/simple-component: react simple component - npm deploy test
react simple component - npm deploy test. Contribute to bluemiv/simple-component development by creating an account on GitHub.
github.com
'Frontend > React' 카테고리의 다른 글
| 기존 React App에 Typescript 적용하기 (0) | 2022.03.02 |
|---|---|
| React 프로젝트 npm에 배포하기 (0) | 2022.01.06 |
| Gatsby와 React를 이용하여 Github page 호스팅하기 (0) | 2021.08.03 |
| React 프로젝트 github page에 호스팅하기 (0) | 2021.07.26 |
| React로 간단한 ToDo List 만들기 (#8 삭제 기능 개발) (0) | 2021.07.17 |
